I didn’t grow up reading comic books back in Russia, but from the moment I met Ben, I’ve been closely following all Marvel’s creations on the big screen. He knows all the heroes, all the characters’ life stories, who plays whom, and when the next movie is coming out. While I love watching action movies, I can’t call myself a true fan, because there are many more beauty products in my house than Superman posters (Henri Cavill definitely deserves to have one poster in my house, though!). However, if I get a chance to incorporate some comic-inspired looks into my wardrobe or a makeup collection, I’ll be so much into it.
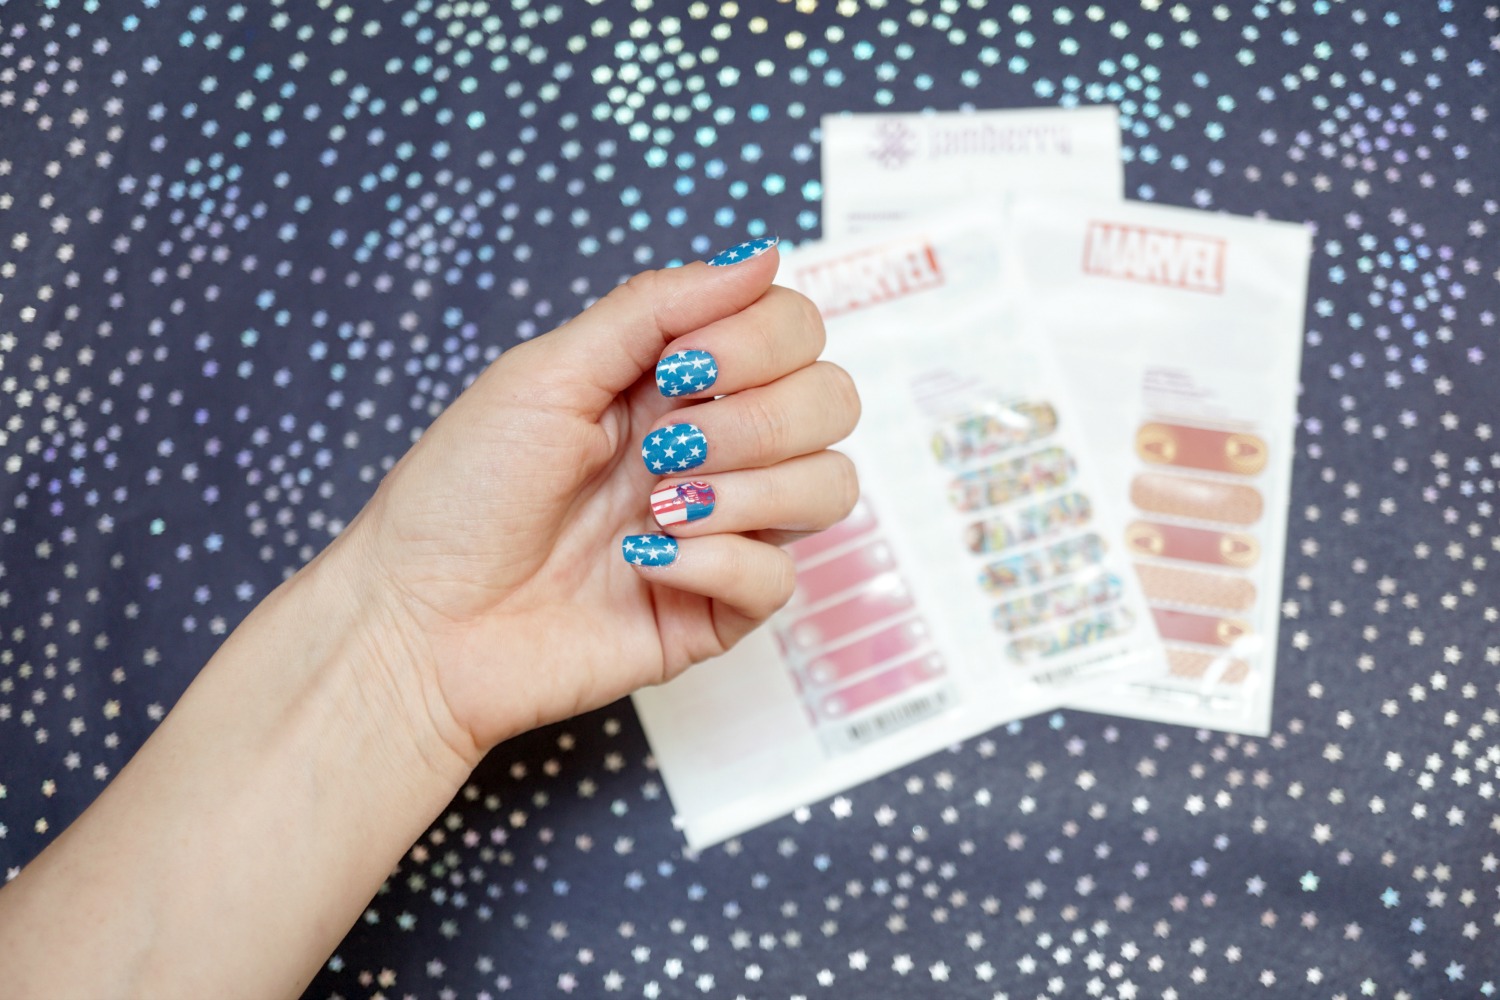
Today, I decided to share with you a quick tutorial on how I prefer styling my nails for superhero movie premieres with a new line of Jamberry nail wraps created in collaboration with Marvel. You can wear these nail stickers for both natural and acrylic nails or repeat my exact method by applying nail wraps on press-on nails and then attaching them to your nail with glue or an adhesive nail tape.
In this nail tutorial, I used the following supplies and tools:
* Captain America nail wraps from Marvel Jamberry collection ($18)
* Acrylic Nails Kit by Kiss ($7.99)
* Make Up For Ever Lash Show Applicator ($13)
* 1907 Zero7 Air Lightweight Dryer ($129.99)
* Nail file (I love this bunny nail file by ASOS, $$6.50)
* Manicure pliers (mine are from Amazon, $7.99)
* Manicure pumice stone (how cute is this one in pink, $4.99)

Step #1: From your kit of acrylic nails, pick those that fit your nail sizes and set them aside in the exact order you’ll be applying them. If a faux nail you selected is a bit wider than you need, use a nail file to give it a proper shape.
PRO TIP: I recommend having a full manicure or just moving your cuticles before you start nail wraps application. That way, you’ll ensure that your nails will last longer.

Step #2: Select a matching size nail wrap. Cut each of the selected nail wraps in half and put them aside next to each of the acrylic nails.
PRO TIP: Many YouTube tutorials I’ve watched on the topic of applying nail wraps recommend picking a wrap that’s a bit smaller than your actual nail. In my experience, you should do the opposite when it comes to working with acrylic nails. Since you can shape the faux nail together with a wrap before applying it to your nail, I would recommend picking a larger wrap and then simply shaving it with a nail file until it fits.

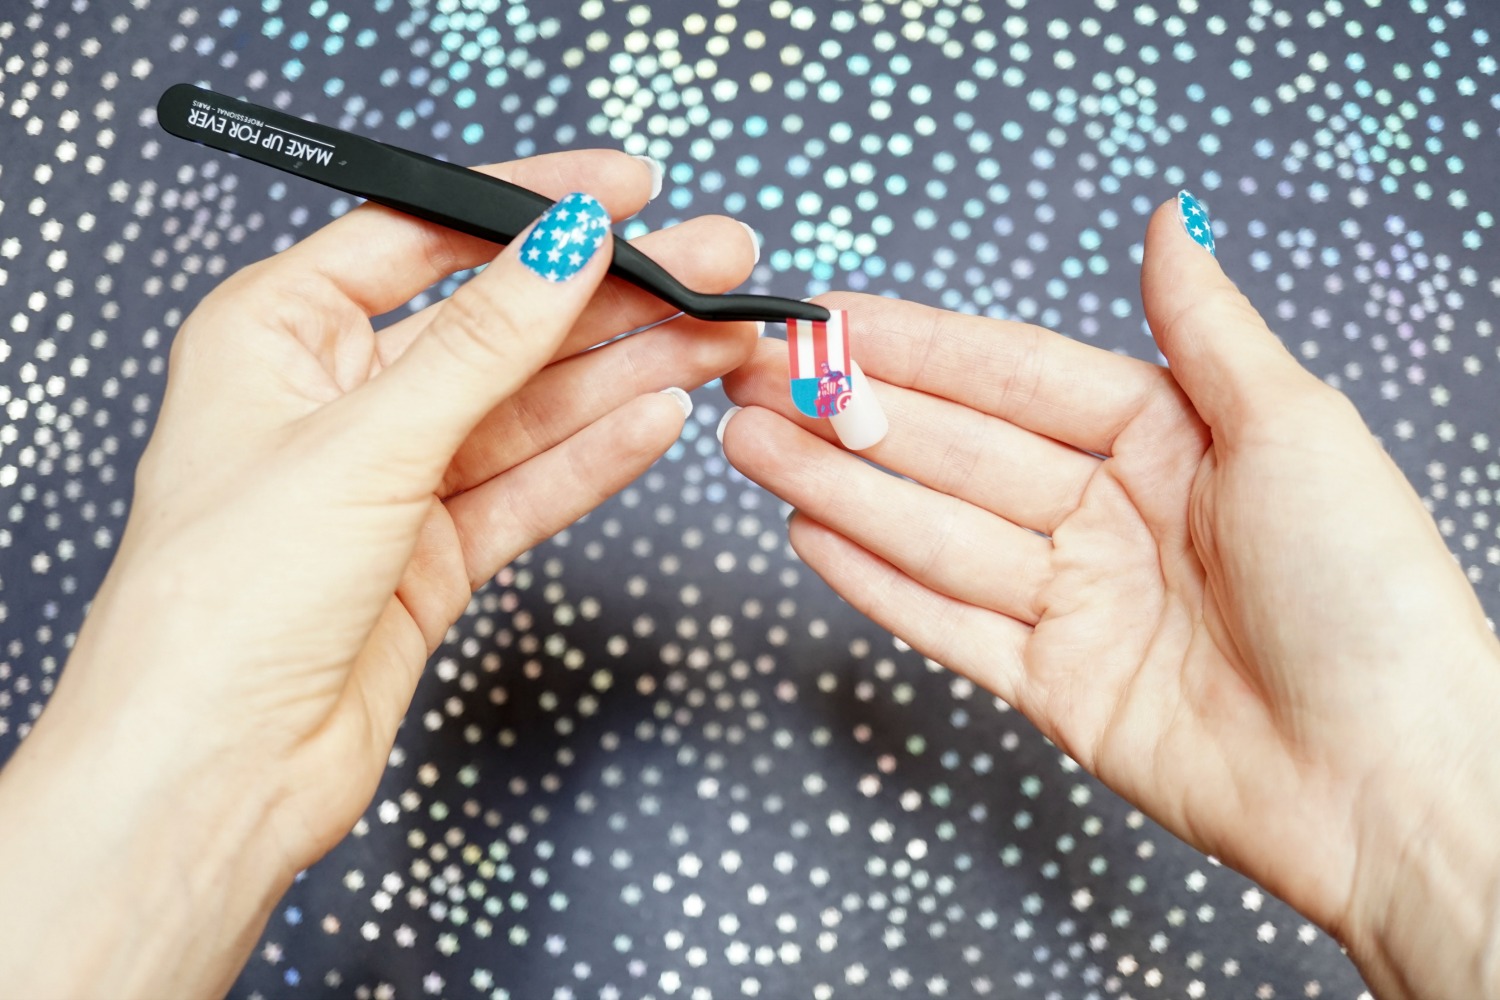
Step #3: Peel off one nail wrap at a time and catch it with an eyelash applicator (tweezers will do too, but don’t squeeze them too much or they’ll damage the wrap).

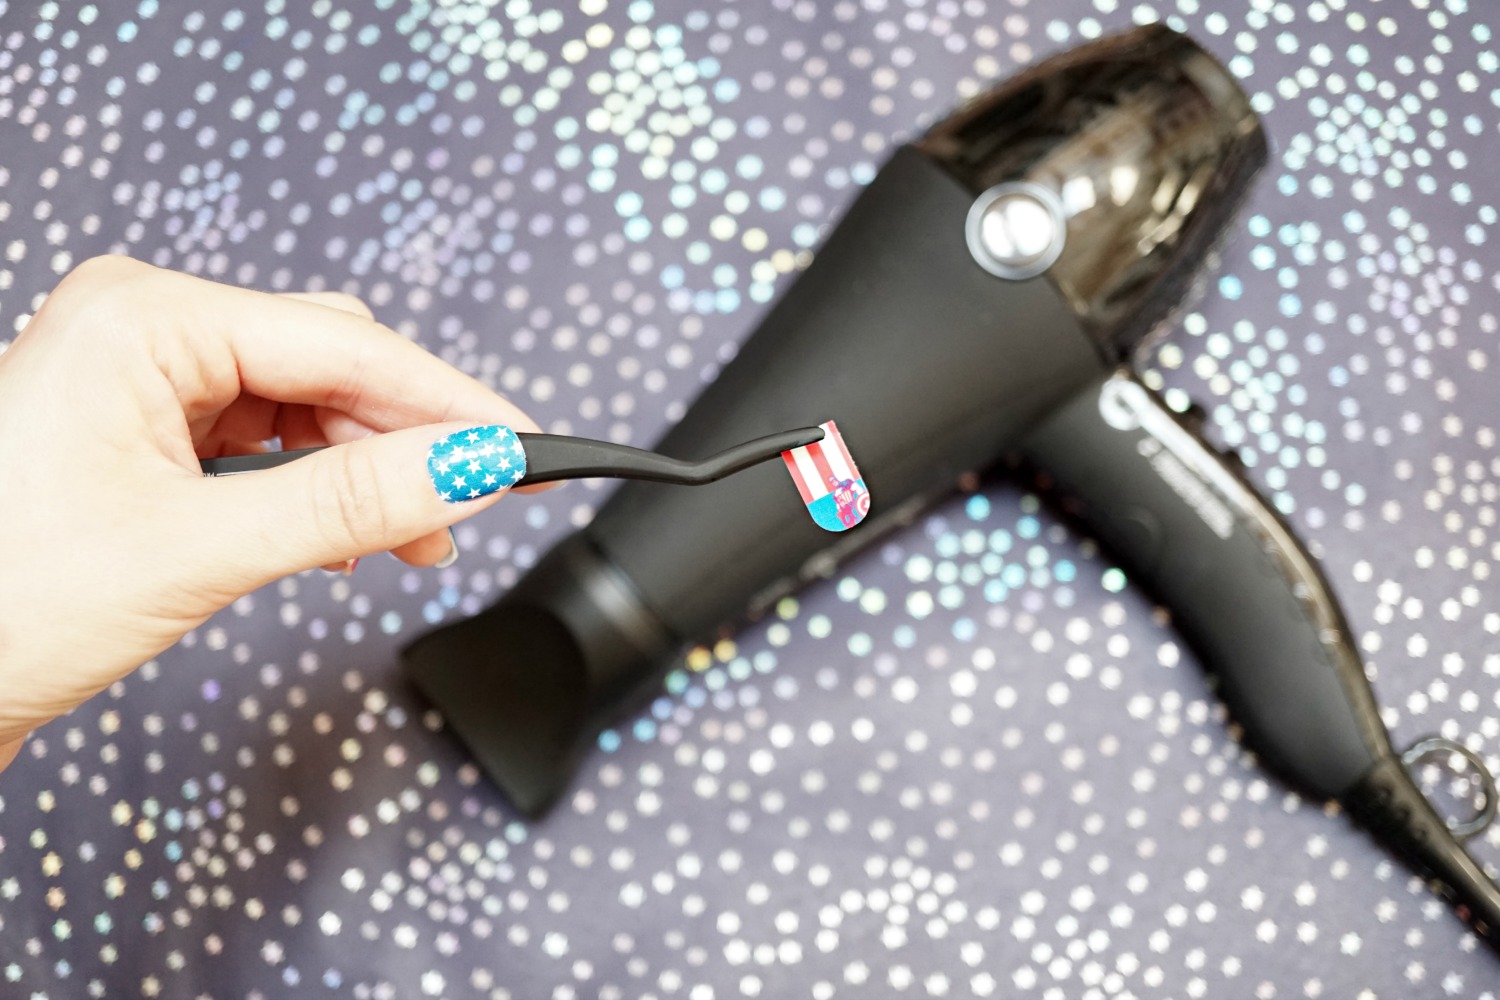
Step #4: Holding your eyelash applicator with a nail wrap in one hand and a blow-dryer in the other, warm up the nail wrap for 3-5 seconds. Keep your blow-dryer setting on high heat and low speed so your nail wraps don’t wrap around and stick to the tweezers.
Step #5: Press the warm wrap onto the nail and press the edges with your fingertips so they adhere to the nail.

Step #6: Use scissors or manicure pliers to cut the leftovers of nail wraps from the sides of your acrylic nail. Follow up with a nail file and manicure pumice stone to even out the edges.
Step #7: Apply heat again until the wraps is completely bonded to the nail.

The best part about nail wraps in comparison with a regular nail polish is that they last much longer. Not to mention that I would never be able to recreate the same awesome design using a nail polish!
Have you ever tried nail wraps? Tell me in the comments area below what you liked (or didn’t like about your experience). Also, which Marvel hero is your favorite?


These are cute! I have yet to try Jamberry!
I’m an independent consultant for Jamberry! If any one has any questions or needs help you can ask me. My email is mooswife722@gmail.com
Wow, those are so pretty and I want to try this too!!
I want this, I am so glad that it lasts longer than a regular nail polish.
Oh, so cute! I want to try this too! I love Marvel.
your marvel nails rock! so fun!
kelseybang.com
Those are so cute! I love Marvels too. I’ve tried jamberry before and I think they’re okay.
Oh dear! I am so not a nail person….at least not finger nails. My toe nails I worry about but not my finger nails….go figure
Wow, those are pretty awesome. They would be a great addition for a superhero halloween costume, too!
I haven’t used nail wraps.Keep hearin about them Have to try theses out
I have yet to try Jamberry. My girlfriend bought me a set. These superhero ones are so cute!
dang, these are sooo awesome! love marvel!
These are so cute!! They look perfect on your nails.
xoxo,
angelle
http://www.dashingdarlin.com
That looks so cool. Love marvel!
I haven’t tried Jamberry nails ,but I’ve heard such great things about them. I love how fun the Marvel nails look.
I’ve never tried the wraps before, but I think they’d be awesome. I love this look!
Those are so cool. I need to try Jamberry nails.
Your snapcode is super cool. How can I make it one for myself? These nail-arts are great
Loving these, I’ve never used anything like this before and really want to give it a go.
http://ohduckydarling.com
I had no idea that jamberry had character or show inspired designs like this. How cute!
I ordered some wraps from Jamberry a while ago and really loved their products. To be honest I forgot about them but these Marvel prints are great!
I love marvel!! This may have swayed me to try nail wraps! Captain America is my fav :) Marie
I love how easy they are to apply. I’ve never tried doing my nails this way! The designs are really adorable and who wouldn’t love Marvel inspired nails, right?
I’ve tried Jamberry nails before but it’s so hit and miss and it takes practise to get it right. I personally feel it’s more trouble than it’s worth but I am bias because I’m pretty good with painting my nails. That said, I loveeeee the Marvel theme!
Shireen | Reflection of Sanity
These are so cute! I loooove Marvel/DC so this is so my thing. I am such a nerd for this stuff. I want them all. haha
http://www.lipstickisalife.com/
SuperCool! A little unclear… can you apply this directly to your natural nail or is this recommended for acrylics?
Your nails look amazing!! I will have to try this! Have a great weekend.
xO – Steph
http://www.uranblonde.com
This looks like a fun activity to do with girlfriends and wine!
XO,
Maria
MariaOnPoint http://mariaonpoint.com/ | Find me on IG https://www.instagram.com/mariajabad/